
 By
By 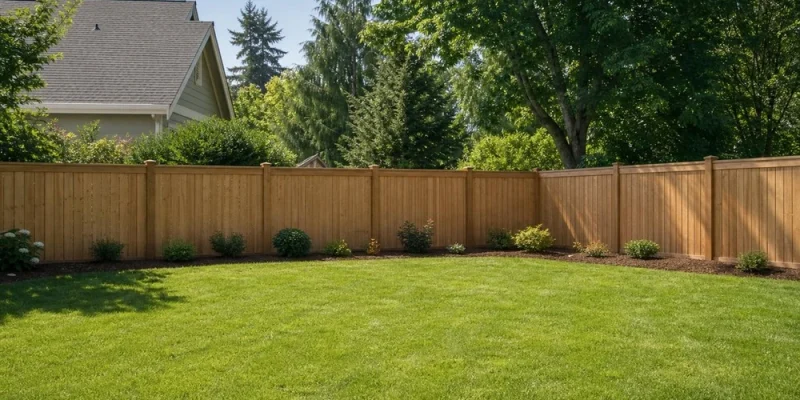
This time of year always seems to find the most vulnerable places in a yard. There is a dog that digs out under a fence, a hole behind the mulch that allows a rabbit in, or after a spring rain, there is a patch of dirt along an old fence that is going to wash out if not covered. You are ready to plant in the space, but there is also going to be a hole to cover first.
A no-dig fence can plug up these spaces without taking down a section of chain-link or wood fence. You do not have to dig a hole or mess with existing plants. Just place the no-dig fence into the ground and anchor it at the source of the problem. There are some things to keep in mind depending on the layout of the yard.
Start With a Flat Lawn and a Digging Dog
In a flat area of lawn, digging holes under a fence is something that will likely happen. It is easy to spot a dug-out area if you look at the ground right next to a fence line. You will see bare ground with paw prints or tracks that lead directly under the fence line. The problem is that it is already loose, and if they can get under once, they will likely go back to the same spot again.
A no dig fence helps in this situation because it acts as an additional barrier under the fence. The bottom edge of the no-dig fence should rest on the ground, not be held in place by pressure. Anchor it to the fence itself to make sure it stays. Make sure the no-dig fence covers the dug-out area completely. Your dog might try to move a few feet over from the original hole if it cannot dig out at the same spot. Start at the hole, not the whole fence.
Before setting the no-dig fence into place, remove any debris that might keep it from laying flat. It is also a good idea to let the ground firm up before placing it in place. You do not want the ground to be wet from recent watering or rain. If you set the no-dig fence into soft ground, it might shift when your dog begins digging.
On Slopes, Small Gaps Matter
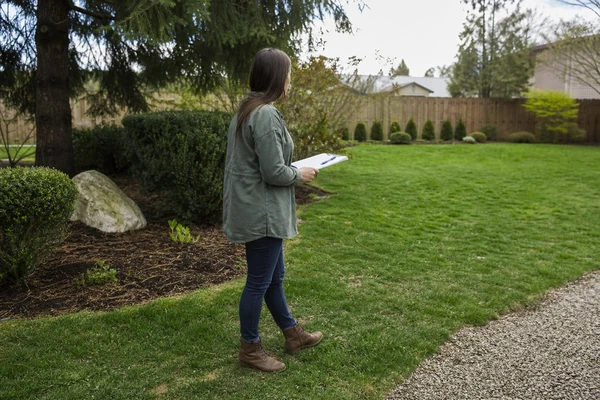
The other option is a hill or a slope in the yard where you want to build a garden bed. On one side of a fence is the lawn, and on the other is the garden bed. It might look like you have a solid wall in front of the garden bed, but a rabbit can easily squeeze through. They don’t require much space, and if they know what they are looking for, they will find it.
To plug up this hole, set up a series of short panels along the slope rather than one long straight panel. Allow the panels to sit on their own, overlapping about two inches to eliminate the possibility of a tiny space between them.
Focus on the lowest point of the bed. Water often washes mulch and soil downslope over time. This can leave room below the fence that wasn’t present earlier in the season. Rebuild the dirt first if necessary, but don’t heap it up against the wood because this can introduce yet another issue with moisture and wood.
Tree Roots Change the Plan
Digging near tree roots (more info here) is aggravating. The shovel catches, the roots get broken, and what should be a quick job becomes a big landscaping project. Here’s where a no-dig fence comes into its own: it can be placed around surface roots rather than having to go through them.
- Clear away leaves to get an idea of the true ground level.
- Don’t try to plant stakes where there is a large root blocking a direct path.
- Attach the panels to the old fence in more than one place so they can’t fall away.
- Set aside a little of the original mulch for cleaning up around the repair site.
Know When One Panel Isn’t Enough
A no-dig fence is a solution for specific issues, not all fence problems. Serious erosion can erode a long run of fencing, requiring re-grading, drainage improvements, something the EPA walks through at epa.gov/green-infrastructure, or replacing bad sections. Large animals can also flex a light-weight fence, particularly if they consistently pressure the same section.
Check the posts and bottom rail of the fence before adding any new panels. If the existing fence is sagging, rotting, or leaning, then the gap underneath it is just one symptom of a more extensive problem. Fixing the bottom without fixing the rest of the fence may lead to more repairs in the future.
Do a Final Check Before You Dig
Walk the entire length of your fence before you start. Have your panels, fasteners, gloves, hand tamper, and mulch with you. Look for fresh digging, worn animal trails, loose dirt, exposed roots, and anywhere the existing fence has come up from the ground. Install the panels where the gaps are most active and then check both sides of the fence at the ground line. Finally, water nearby plants only after the dirt around the repair site is compacted and the fasteners are secure.









Comments